Android
Android Push Notifications
Push Notifications on Android are sent with the help of the FCM service. To work with it, two keys are required: a client and server key. If you have a project, move on to the second part of this article.
Creating a project in Firebase
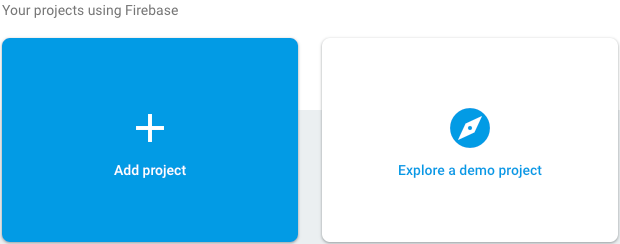
Add a new project to the Firebase console.
Fill in the name and country of your project.
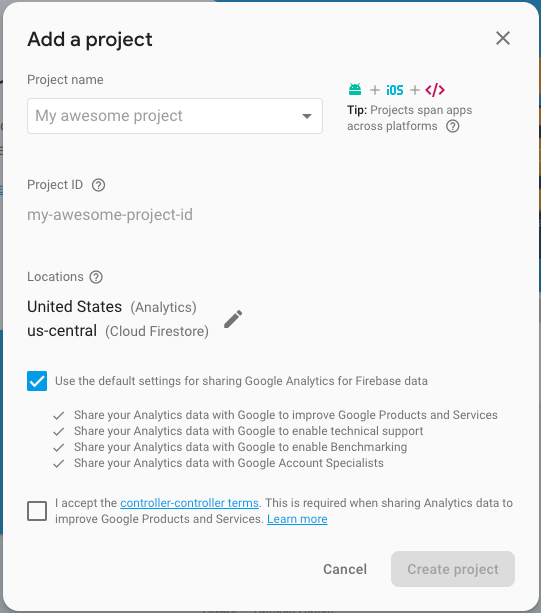
Congratulations, the project has been created! Now you need to indicate the package name of your Android app.
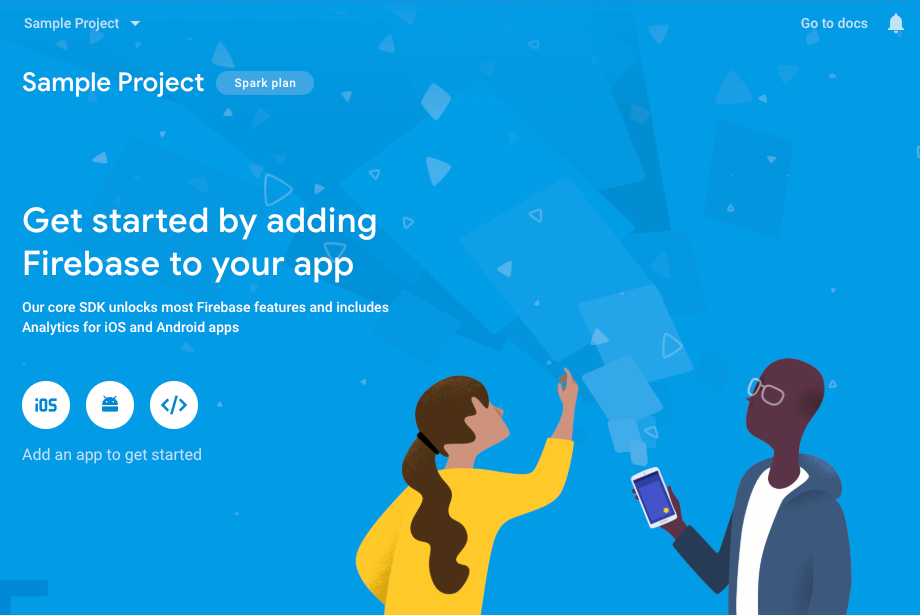
 After a successful registration in Firebase, you can receive your keys that you will use in devtodev.
Obtaining the necessary keys
Go to the settings of your Android project.
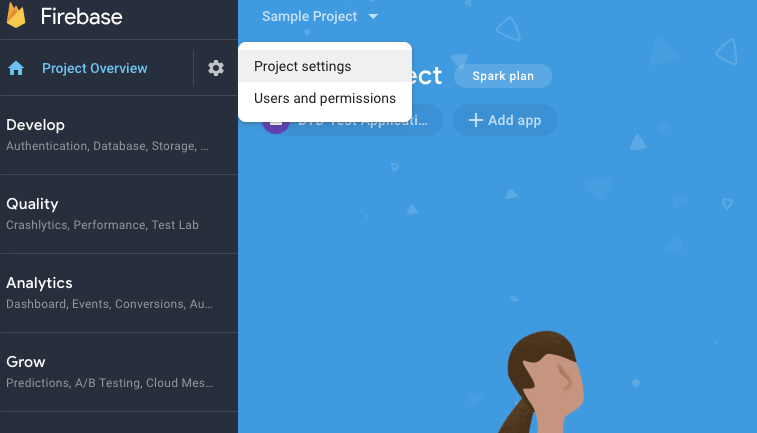
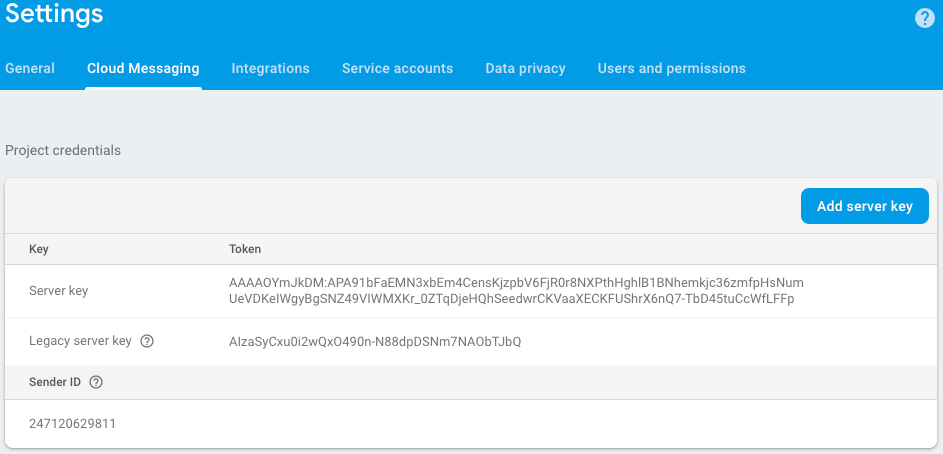
Remember or copy Server key and Sender ID from the Cloud Messaging tab. You will need them to integrate push notifications and create push campaigns.
Implementation in the app
Download the generated by google-service.json file and add it to the project.
The Google services plugin for Gradle loads the google-services.json file that you just downloaded. Modify your build.gradle files to use the plugin.
Project-level build.gradle (<project>/build.gradle):
App-level build.gradle (<project>/<app-module>/build.gradle):
Finally, press "Sync now" in the bar that appears in the IDE:

In Activity (where the SDK initializes) add the push notifications initialization and the listener of push notifications processing.
Optional. To set the custom icons to be shown in push-notification on the SDK part, use the following methods: To set the small icon:
To set the default color of the small icon:
To set the large icon:
Use resources of your app. For example, R.drawable.ic_launcherIcons which set in the push-notification wizard have priority over the icons which set in these methods.
In case you use several push notifications services or would like to use your own implementation of FirebaseMessagingService, please add the call of the method for displaying messages sent from the devtodev system:
For example:
Changing the application settings in devtodev system
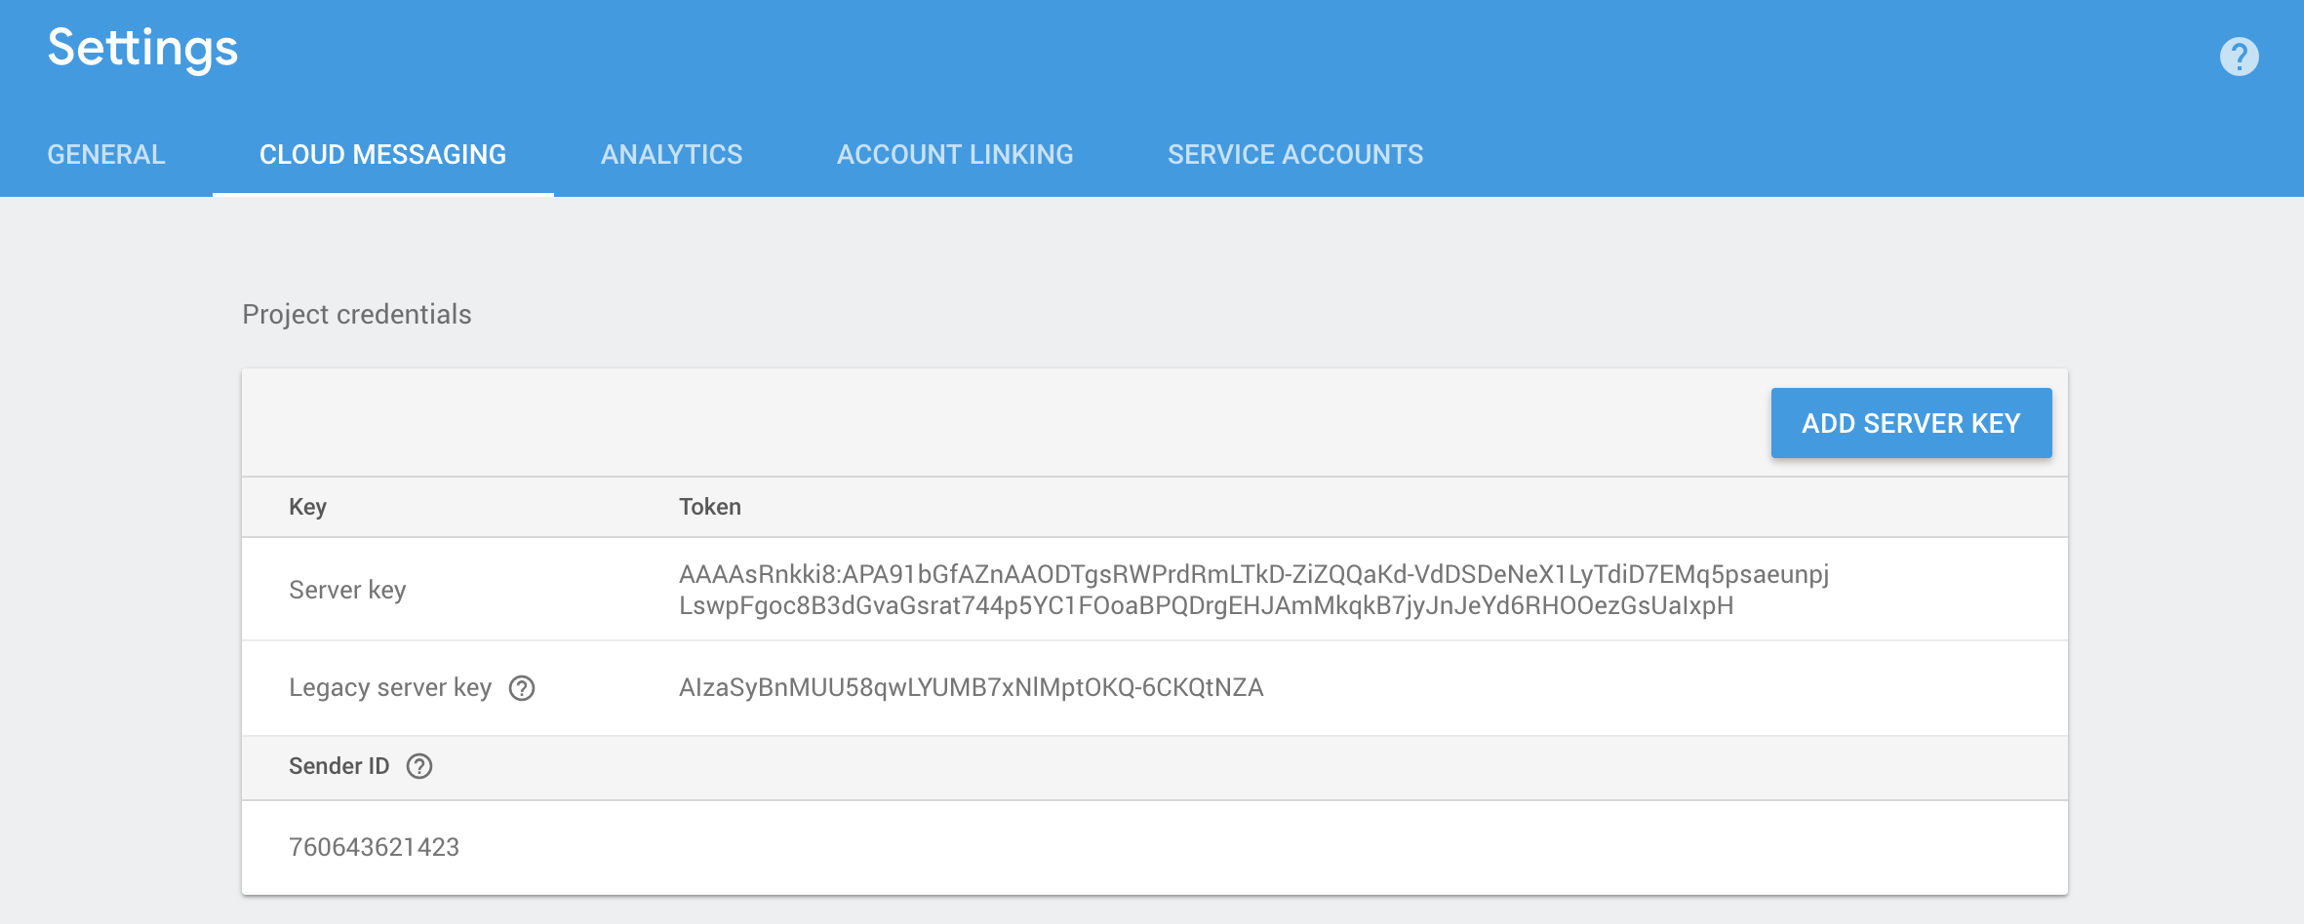
1. Go to Firebase console and then to your project settings. On the Cloud messaging tab get the Firebase Cloud Messaging token of your project.
2. Proceed to Settings of your app in devtodev.

3. Go to Integration page and insert the previously received Firebase Cloud Messaging token to the FCM token field in Push notifications section.

4. If the Firebase Cloud Messaging token is correct, you will see the following result

Creating a new push notification in devtodev interface
Open PUSH NOTIFICATIONS section and click on 'Add new campaign" button
Fill in campaign name, select an app for delivery*
Choose user group to send a message. You can choose existing segment or create a new one
Enter notification details
Make some tests and correct the message if it's required
Schedule the delivery
That's it!
You can create a campaign only after at least one push token comes from devtodev SDK integrated to your application. Otherwise the app will not be displayed in the list.
Last updated
Was this helpful?
